First of all, here is the link to my grad film proposal.
--------------------------------------------------
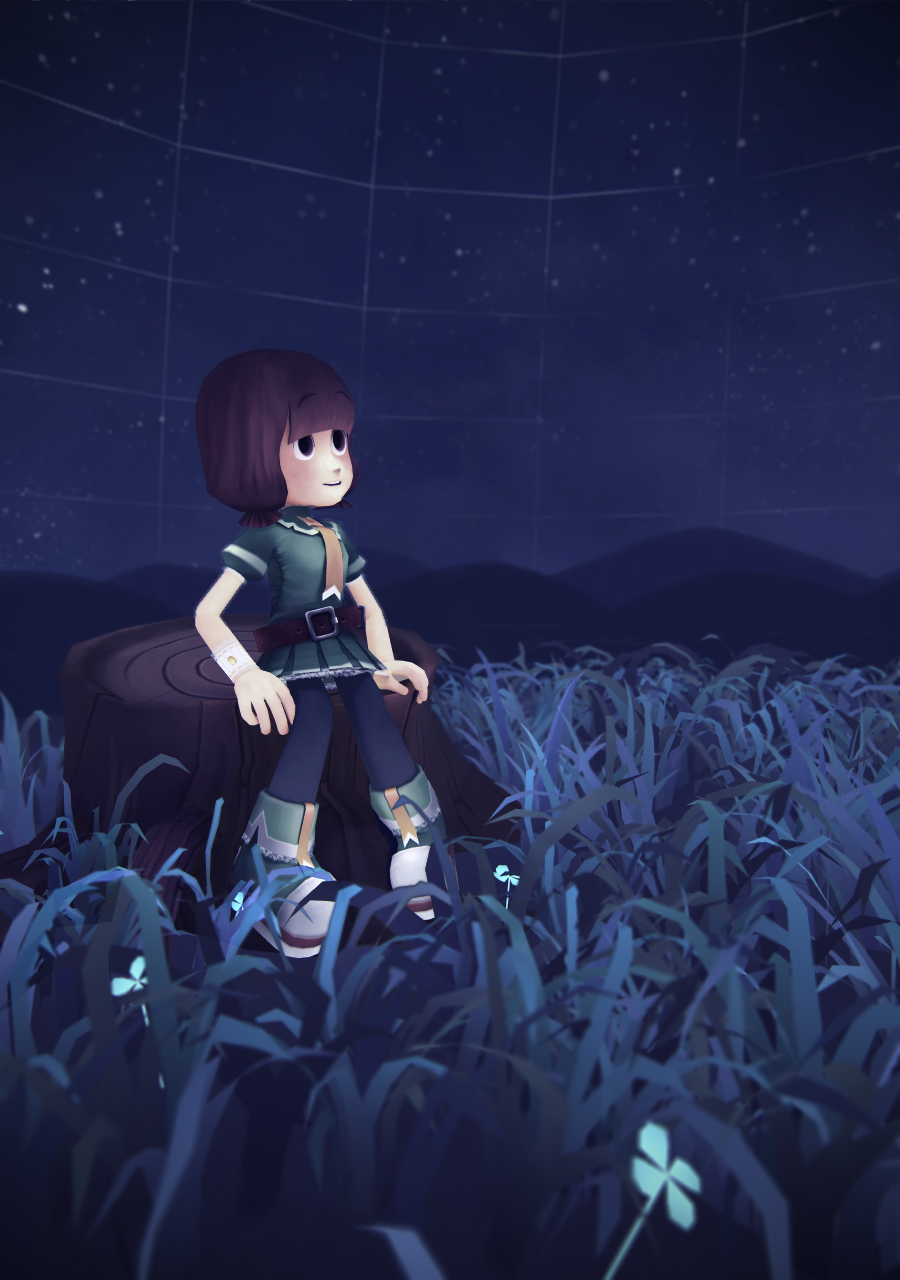
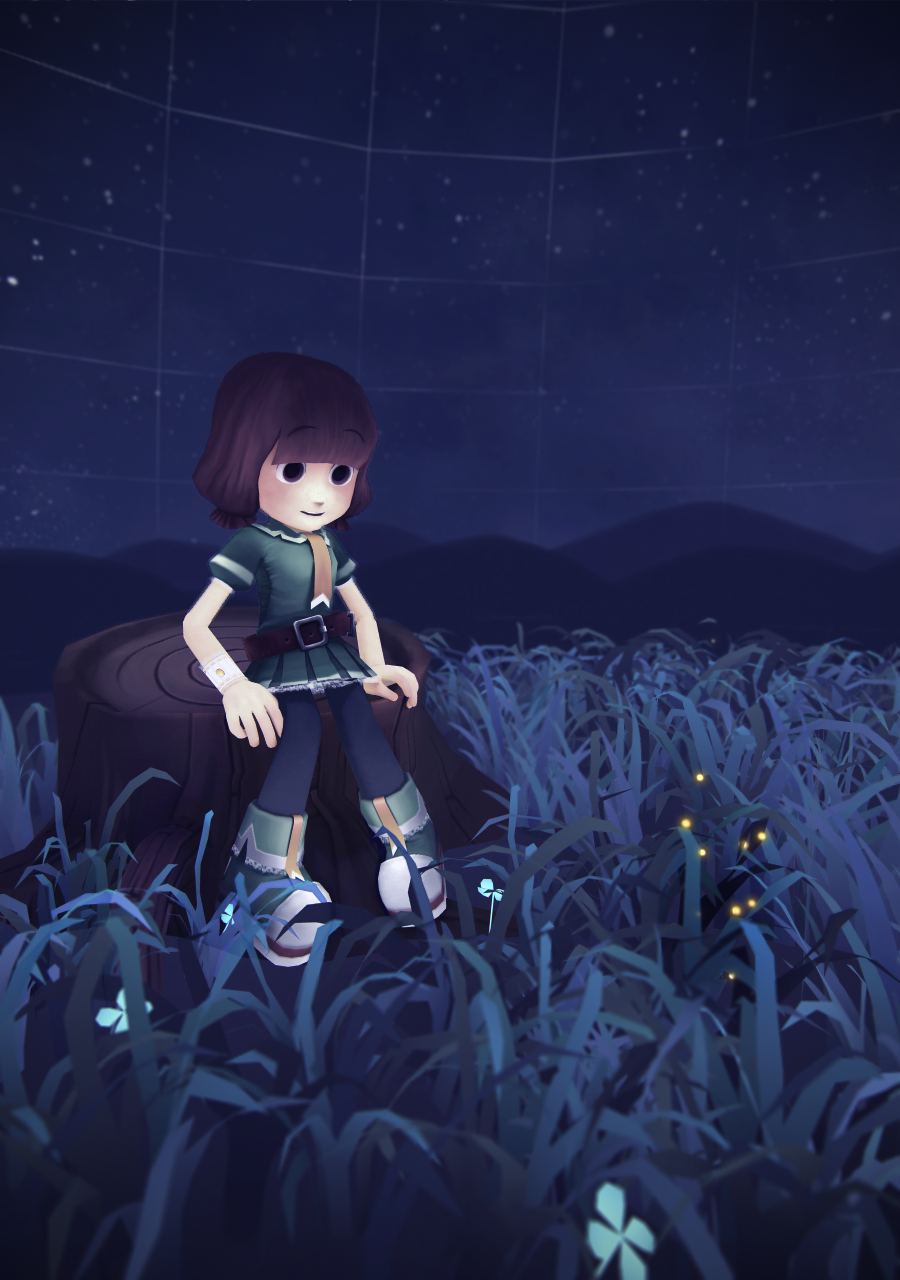
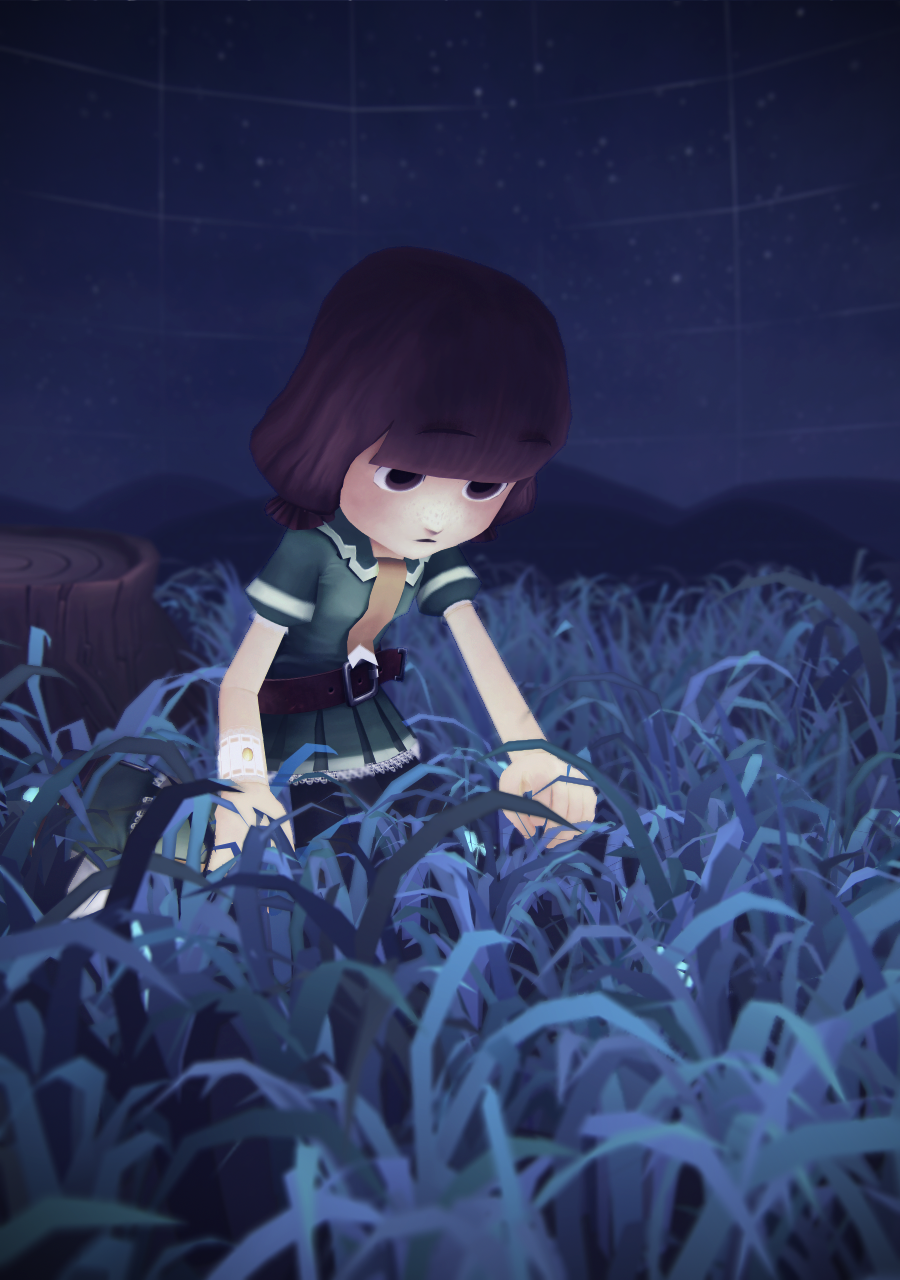
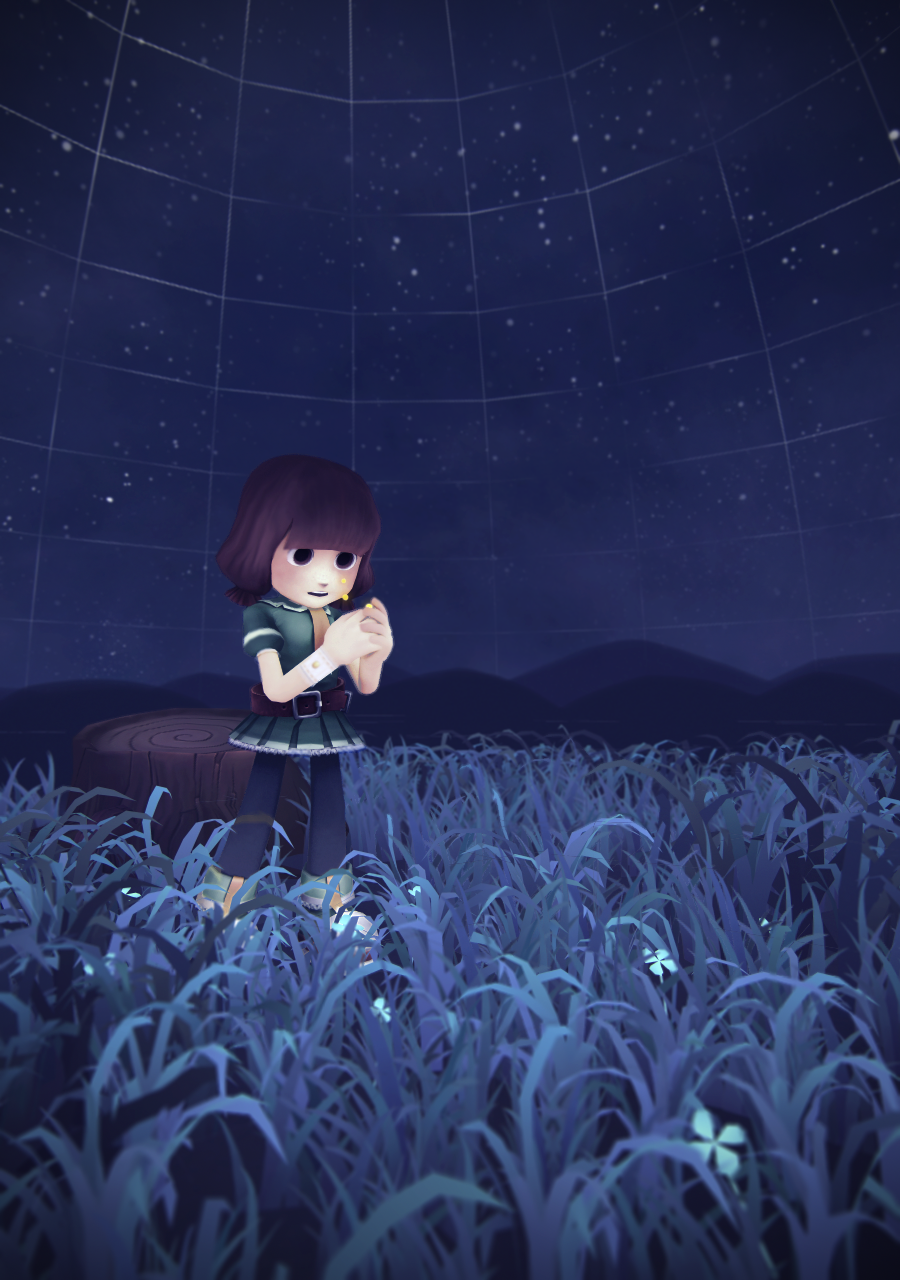
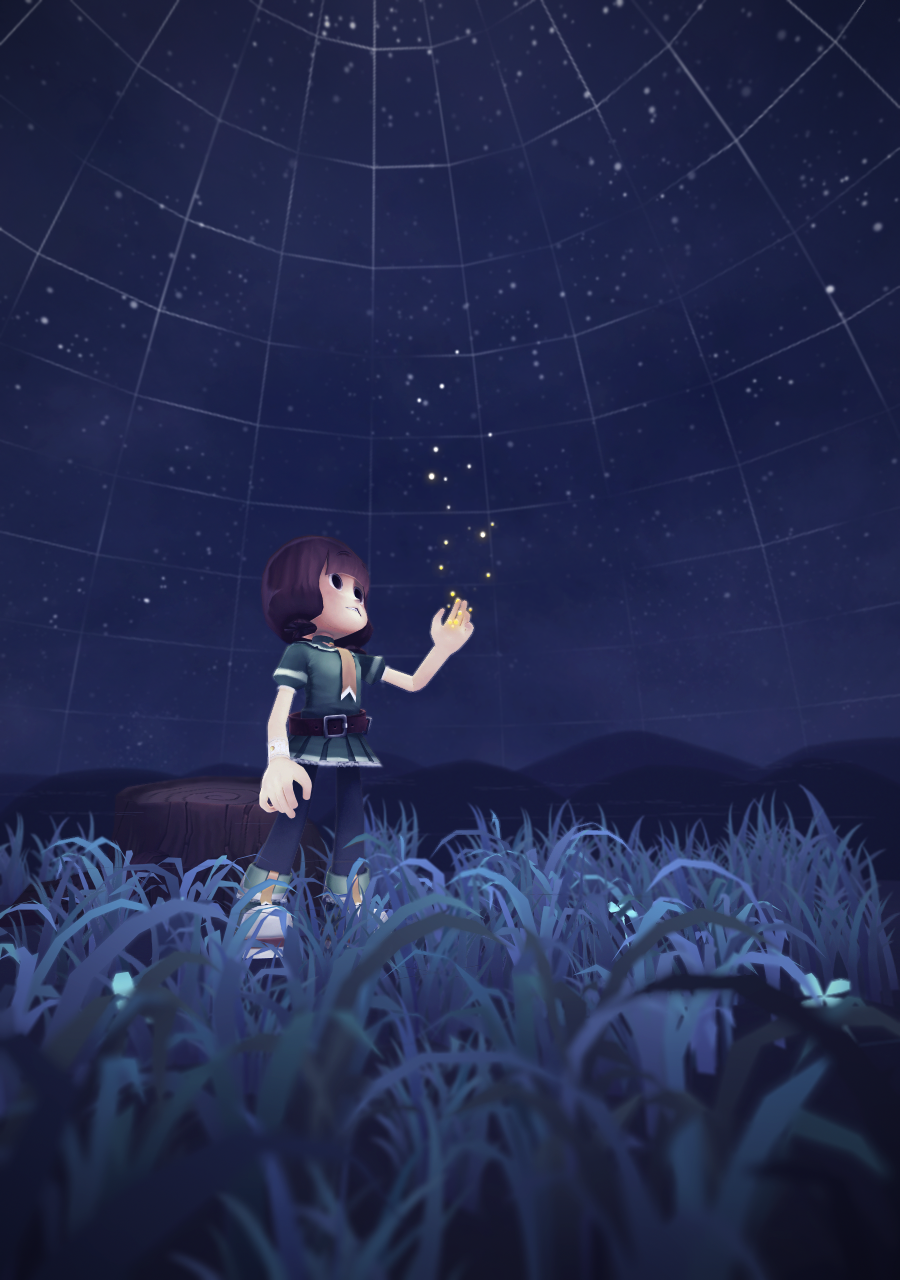
In Bob's Lighting n Rendering class, I decided to do some test renders of my grad film as the final project. Here is the night scene with the absence of the lion:
 |
| 1 |
 |
| 2 |
 |
| 3 |
 |
| 4 |
(for my final image, I took Bob's feedback and applied a settle rim light, it is really necessary since her hair is almost as dark as the night sky. Bob's other feedback was saying that the dome was a bit too claustrophobic, this I felt it too so I'll be careful next time when I re-model the dome.)
 |
| 5 |
Andddd here are a couple behind-the-scenes images:
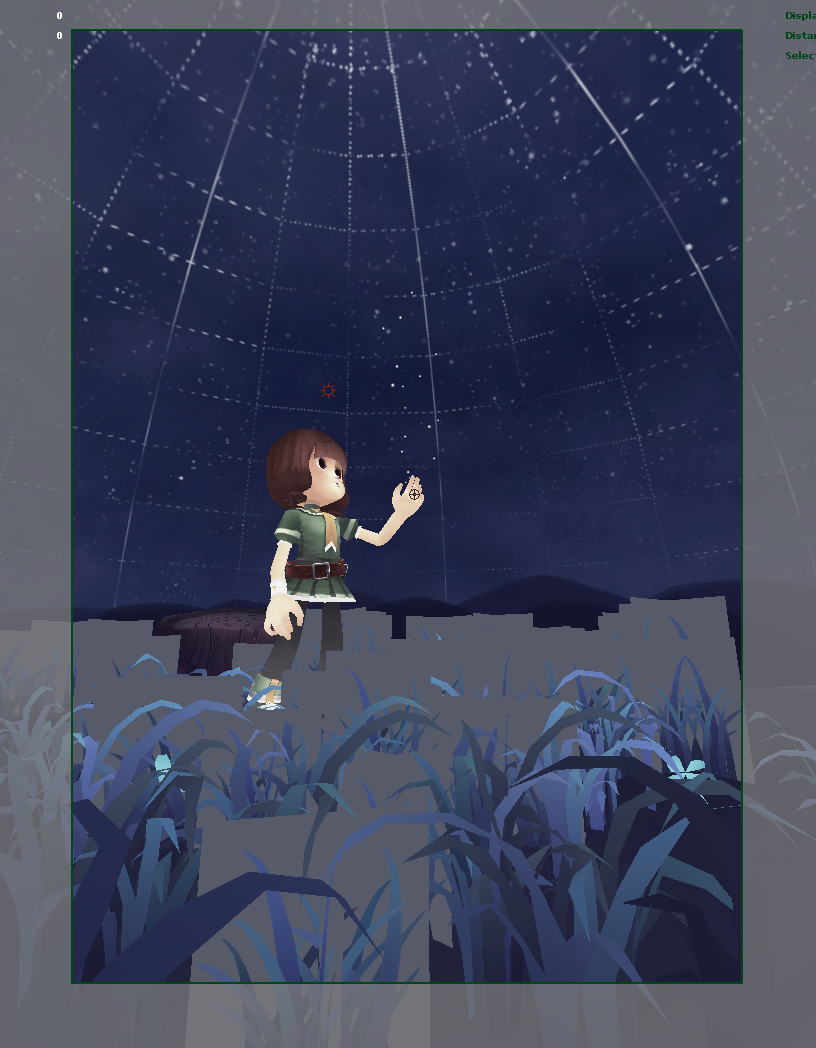 |
| Inside the viewport! |
 |
| Zooming back! |
 |
| Wireframe! |
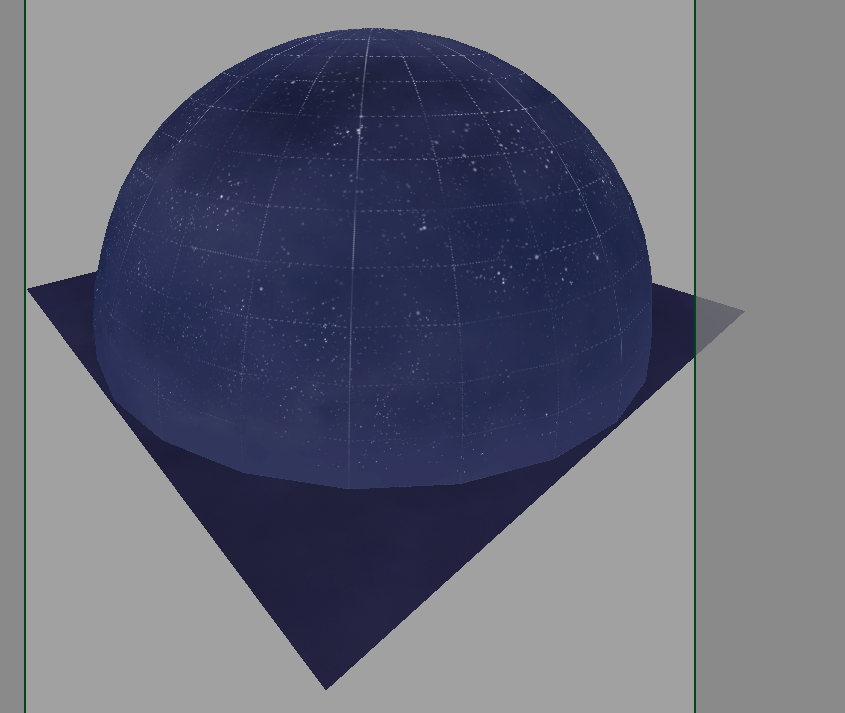 |
| Set Exterior! |
----------------------------------------------------------------
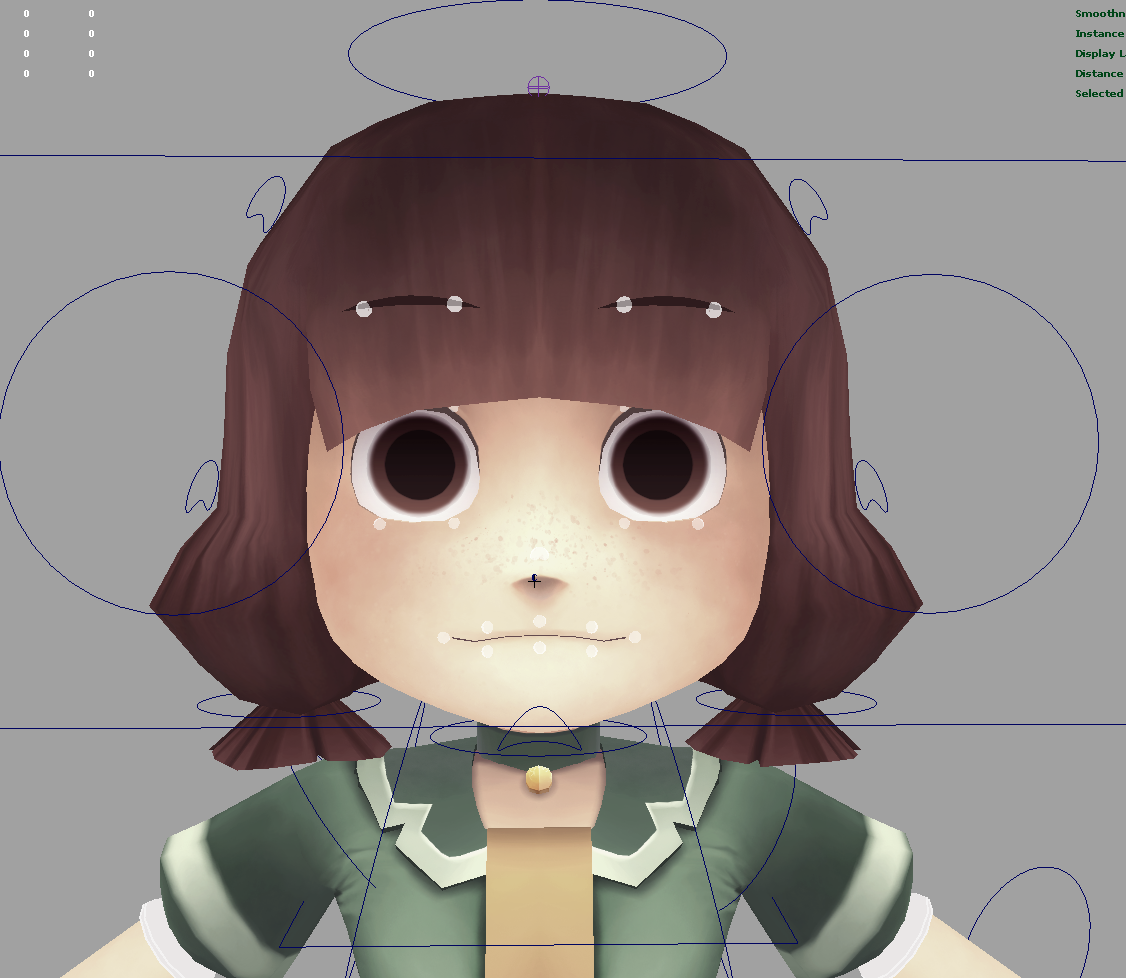
Again, I am hindered by too many rigging problems. At this moment, I still have a few more issues to fix, plus the weighting isn't perfect yet. I couldn't do any animation test with an imperfect rig. But I learned a lot this week, so that's great. Here are some things I did:
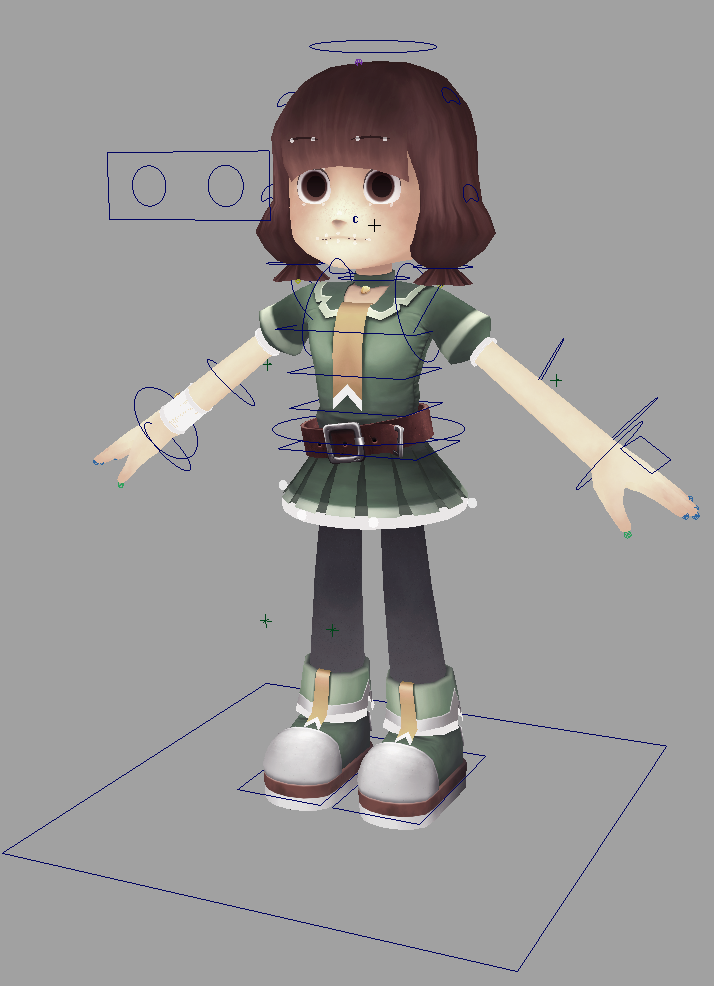 |
| It's looking a bit messy since there are a lot of ctrls, but every one of them is needed! |
 |
| It's my first time rigging with influence objects, but they are actually very handy and easy to work with. |
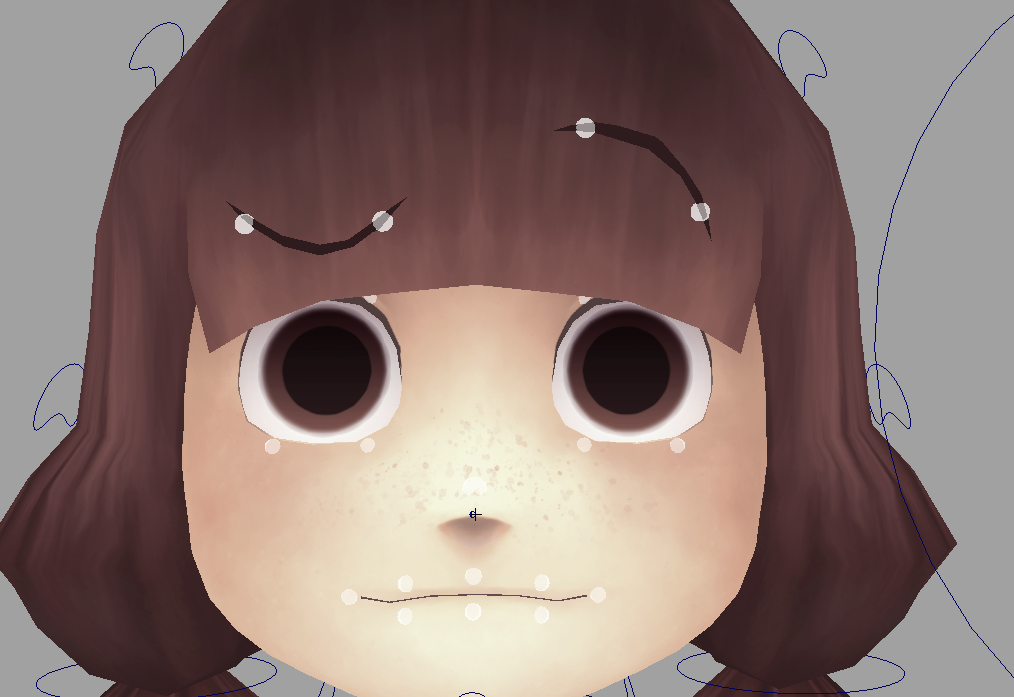 |
I love twisting and posing the eyebrows around. Two ctrls are actually enough for this, I never knew.
*Gasp!* |
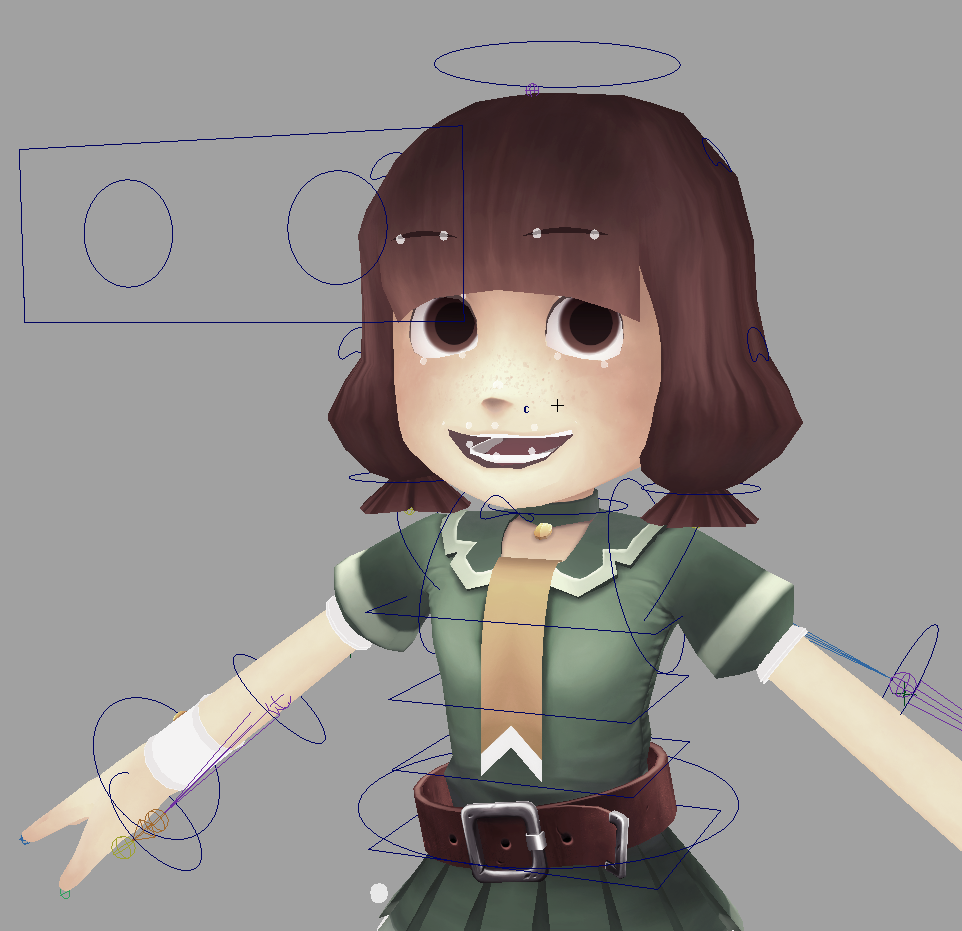 |
Posing this creepy smile reminds me that I still need a ctrl that will move the whole mouth together. |
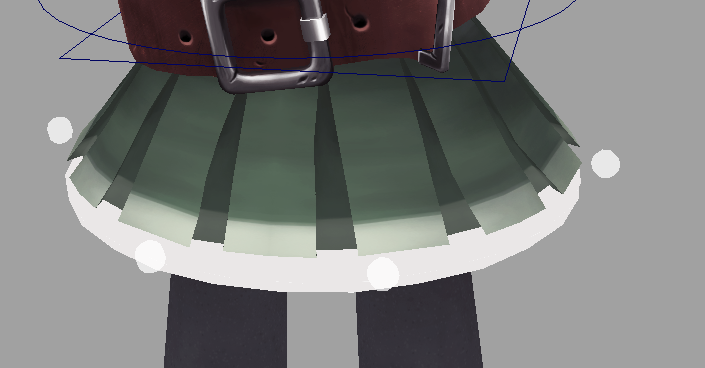 |
| Influence objects rig my dress pretty well too. This works easier than joints rig in my opinion. |
 |
TO-DO List for self:
-better weighting
-whole mouth ctrl
-fix R_arm ctrls
-add fingers ctrl for both hands
-animation test
|


No comments:
Post a Comment